Prepare your door for painting
Normally, the first thing we’d tell you to do before a project is to wash and sand your surface, yet we’re going that extra step to ensure that you complete this job in one day.
We recommend picking a day with perfect conditions by either starting this project in the early morning, or even the night before, to ensure you can give the paint all afternoon to dry.
Now that we’ve picked the day, let’s really get going with the prep.
Whilst most would recommend removing your front door, we’re not going to. It adds time and effort to the project, and in our opinion, it makes it trickier than it needs to be.
The only things you need to remove are the dirt, previous layers of paint and all hardware.
Washing your door
Using a damp, soapy cloth, wipe down your door to remove any dirt. You’ll be sanding your door next, however, by removing the dirt it makes sanding easier because it’s one less layer to remove.
Once your door is dry, you can sand it. Sanding is always an important part of the process because not only are you improving the look and feel of the surface, but you’re making it easier for the primer and paint to adhere.
Again, once sanded, give your door a wipe down to remove all traces that have been sanded from your door and allow to dry oncemore.
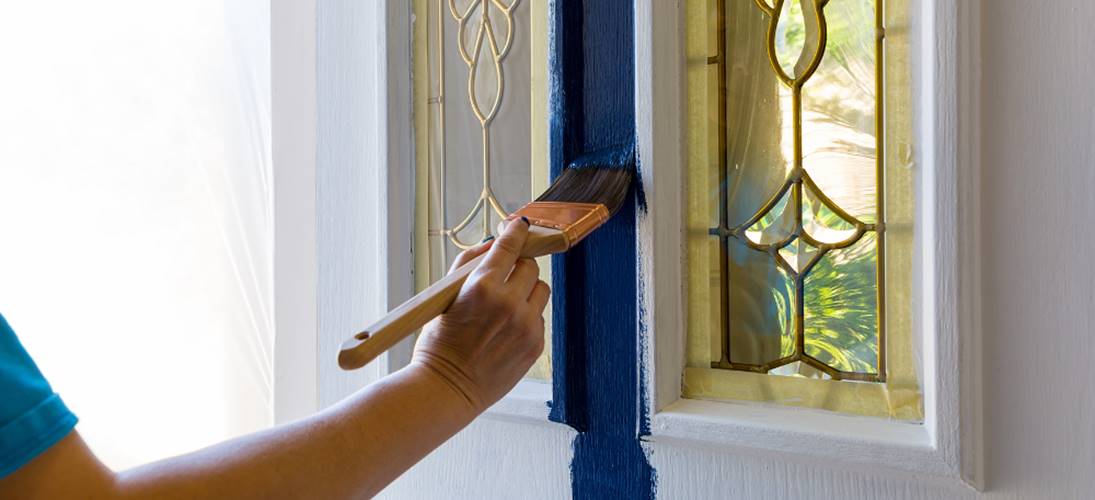
Top tip: If your door has glass panels and panes, use some Frog Tape around the edge of each pane to help avoid any paint splatters.
Priming
Due to the excellent range of colours and incredible quality, we’re going to be giving directions for painting your front door with Farrow and Ball.
Farrow and Ball is known for producing highly pigmented paint giving you a long-lasting finish. Using only premium ingredients and techniques it can trust, the brand’s impressive range of bespoke colours offers both quality and style to your home. Farrow & Ball paints are durable and eco-friendly - perfect for the modern home.
As we plan on using Farrow and Ball’s coveted Full Gloss, using their Exterior Wood Primer & Undercoat is highly recommended.
Farrow and Ball Exterior Wood Primer & Undercoat is a flexible, water based and breathable primer undercoat that is perfect for use on exterior bare or previously painted wood.
Exterior Wood Primer & Undercoat provides a protective foundation and offers excellent adhesion to following top coats, especially Exterior Eggshell and Full Gloss. It gives your painted surfaces a long lasting finish.
Requiring just one coat, you can kick your slippers off for four hours and allow that to dry before applying your first coat of Full Gloss.
Applying paint
Did you know there’s a recommended sequence for applying paint to your door?
It goes like this:
- Panels
- Central beam (also known as the muntin)
- Top rail
- Middle rail
- Bottom rail
- Side beams of the door
Adhering to the sequence above apply two layers of your chosen door paint in the same order, leaving if for four hours to dry between coats.
Once dry fully, reapply your hardware, take a step back and marvel at how you’ve improved the look of your home in just a day.
For help on picking colours for your front door, tap here.