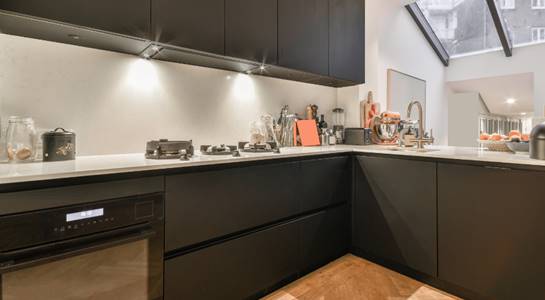
Upcycling your kitchen cabinets! - Paint Direct

Next day nationwide delivery*

Shop all the top brands

Supplying homes & trade since 2007

Find 1000's of products

Upcycling your kitchen cabinets!

August 2022
diy
kitchen inspiration
upcycling
Upcycling your kitchen cabinets!

Upcycling your kitchen cabinets is a simple way to upgrade your kitchen for a lot less.

There are a few mistakes every homeowner and upcycler alike have made in their time, so read this blog to avoid them to ensure the project goes as smoothly as possible.

paint-direct-kitchen-upcycle

Pre-prep

All big projects require prep work, but in this instance, before you can even prep to paint, the first thing to do before investing in any paint would be to ensure that you can actually paint your cabinet doors.

Before you start, you have to check if your kitchen cabinets can be painted. If your cabinetry is solid wood, you can definitely paint them!

If your cabinetry is laminate or veneer, you can still paint them, but it won’t be easy because of their shiny, smooth surface. 

This basically means you’ll have to be more thorough with your prepping and sanding, as well as using a good primer to encourage the paint to stick. Don’t worry, we have a few recommendations for primer here

Preparation

Okay, so we’ve established whether we can paint our cabinets, now let’s prepare them.

Before you start painting, you should really remove the doors and drawer fronts that you want to paint. It would also be wise to remove all the handles and hardware too, and if you can't do this, tape up anything you don't want to be painted.

It’s also a good opportunity to buy new draw and door handles too to make it entirely new! Instead of throwing your old ones away, why not give them away on Gumtree or a local Facebook page?

One person’s trash is another’s treasure!

Once all handles and such have been removed, using a sugar soap or grease remover, you should clean all doors and drawer fronts before you can begin sanding.

paint-direct-DIY-kitchen

Starting in the nooks and crannies begin lightly sanding before moving onto the large surfaces. If you’re painting laminate or veneer kitchen cabinets, sanding is truly essential as the paint won't adhere to the smooth surface created by laminate and veneer finishes.

After sanding, you need to make sure you’ve removed all dust - so just give the doors and drawer fronts a quick hoover and then wipe down with a damp cloth, as the presence of any dust particles will have a negative impact on the finish of your doors and drawers.

Primer

Once the doors are clean and dry, you can add the first coat of primer. It’s best to pick a primer that is best for the material you are painting: for wooden doors use a wood primer or undercoat and for laminate, a good multi-purpose primer or a specialist surface primer. Whilst it’s an added cost, it will be worth it to ensure the best outcomes for your handiwork! 

Explore our range of primers here!

Pro tip: Less is more! Use two thin coats of primer, opposed to one thicker layer. It will help to give you a more professional finish on your cabinetry!

Paint

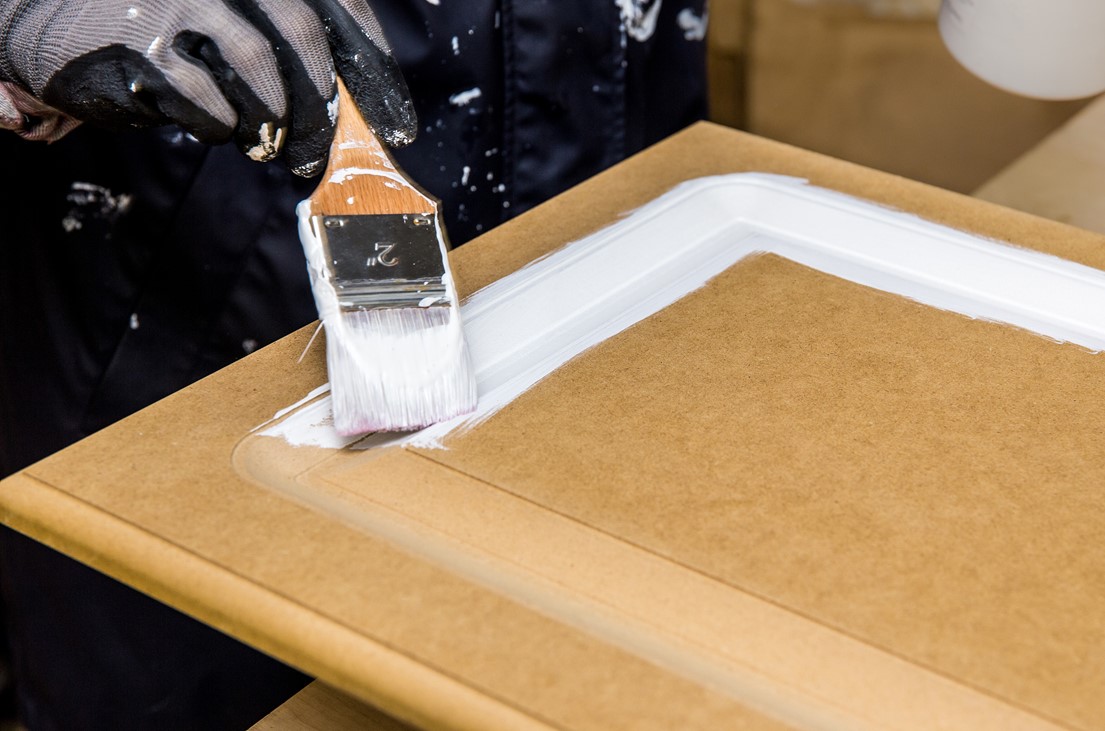
Okay, you’re prepped, you’ve primed and now let’s paint!

When your primer is good, dry and ready, you’re ready to begin painting. 

Don’t forget to stir the paint, especially if it's highly pigmented as it will have separated and settled.

For an even finish, work in both directions using your paintbrush to really get into the grain, for an even finish. As with primer, thinner and multiple coats works better than thicker coats, but please leave enough time between coats to make sure the paint is dry.

For advice on paint, read our blog here.

Pro tip: Before moving onto the second coat, take a small sanding block to gently smooth out any spots which appear to be a little clumpy. Then, wipe down with a soft cloth to remove any lingering dust. This will again, help to give a more professional finish.

For the second coat of paint, use your brush again to get into all the nooks and crannies, and then, you can finish it off with a small sponge roller which will help to give a really even finish.

Depending on what color you are painting over, two coats might be enough, but do a third coat if you need to!

Don’t forget - you need to paint both sides of your cupboards!

Dry

Once you’ve painted all angles, take a well-earned break and let them dry!

Once dry, pop them back into place, add your new hardware and marvel at your handiwork!

For more tips on upcycling your kitchen, tap here to read our blog!